Coating thickness measurement of coated tinplate
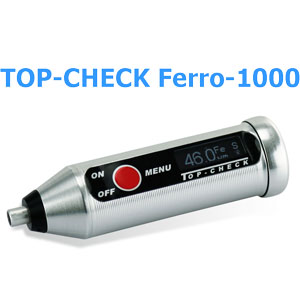
A solution for uneven or complex surfaces: TOP-CHECK Ferro-1000
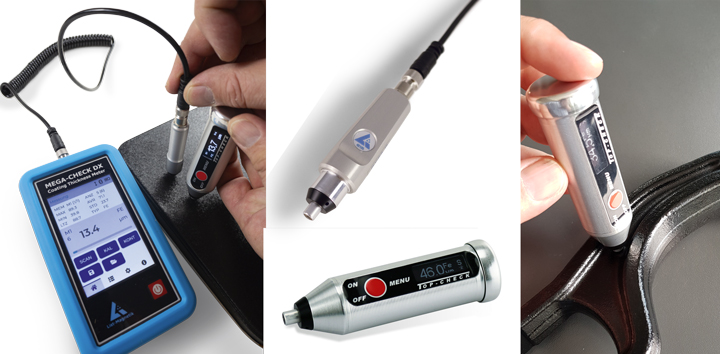
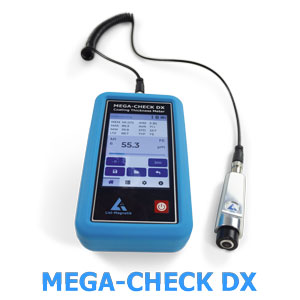
or the DX1-F probe, connected to the MEGA-CHECK coating thickness measuring device. What do we mean by uneven or complex surfaces? For example, a tinplate cookie jar that is varnished. Or the corrugated iron frame of a tin can. The measurement is similar for painted gray cast iron, admittedly not tinplate, but extremely uneven. Common to all examples is the task of recognizing the minimum Coating thickness.
We call the magnetic inductive probe DX1-F "springy measuring probe". The force when touching down does not matter. Soft or tough, you can't go wrong. Due to the narrow design, the probe finds the optimal, shortest path to the substrate and detects the minimum Coating thickness.

Application examples for the spring-loaded measuring probe in the DX1-F probe or in the TOP-CHECK Ferro-1000 coating thickness measuring device.


